The best place to save all your web documents is directly in Content Manager. Using this feature ensures your documents are always viewable to the public and not restricted by access. There are two ways you can upload your documents - by adding them via your content editor or the documents tab.
Add Documents From Within The Content Editor
You can add documents into the page you are currently editing by adding via a hyperlink. Please follow these steps to have your document properly linked:
- While you are in the content editor, you may click the Add Document or Folder Link found just above the text box.
- Drag and drop documents from your file explorer to the grey box in the top right. You can also click the box to open it in a new window.
- Please choose a clear and descriptive title for this document, as it can only be found using this name. You may also change the filename. The filename cannot contain spaces or other special characters such as: \ / : * ? " < > .
- Click Save
- The new document will appear in the list on the left-hand side. Click the Copy Link button to store the route in your clipboard.
- Click the X in the top left of this tab to close this modal and return to the content editor.
- Now, you can paste this as a hyperlink to any text or image.
Link to text or image by selecting the text you would like to link, and clicking the chain icon above the text (or by using ctrl+k)
Using the Document Library
The Document Library stores all documents used on your website, allowing you to reuse them across multiple pages while keeping your media organized and clutter-free.
Always ensure documents are added from a link in the document library. When possible, avoid linking to external image URLs. If an externally hosted image link is changed or removed, it will no longer display on your site.
In addition, some external document sources have privacy restrictions. Keep in mind that, because you can open a document, it does not mean that parents and students will be able to access it as well.
Add directly to the document library:
- Navigate to the Documents tab from the left-hand menu.
- Click ⨁ Upload Documents in the top-right corner.
- Drag and drop your files from your file explorer, or click the grey box to open it in a new window.
- Add a title
- Add a filename — no spaces or other special characters such as: \ / : * ? " < > .
- Click upload
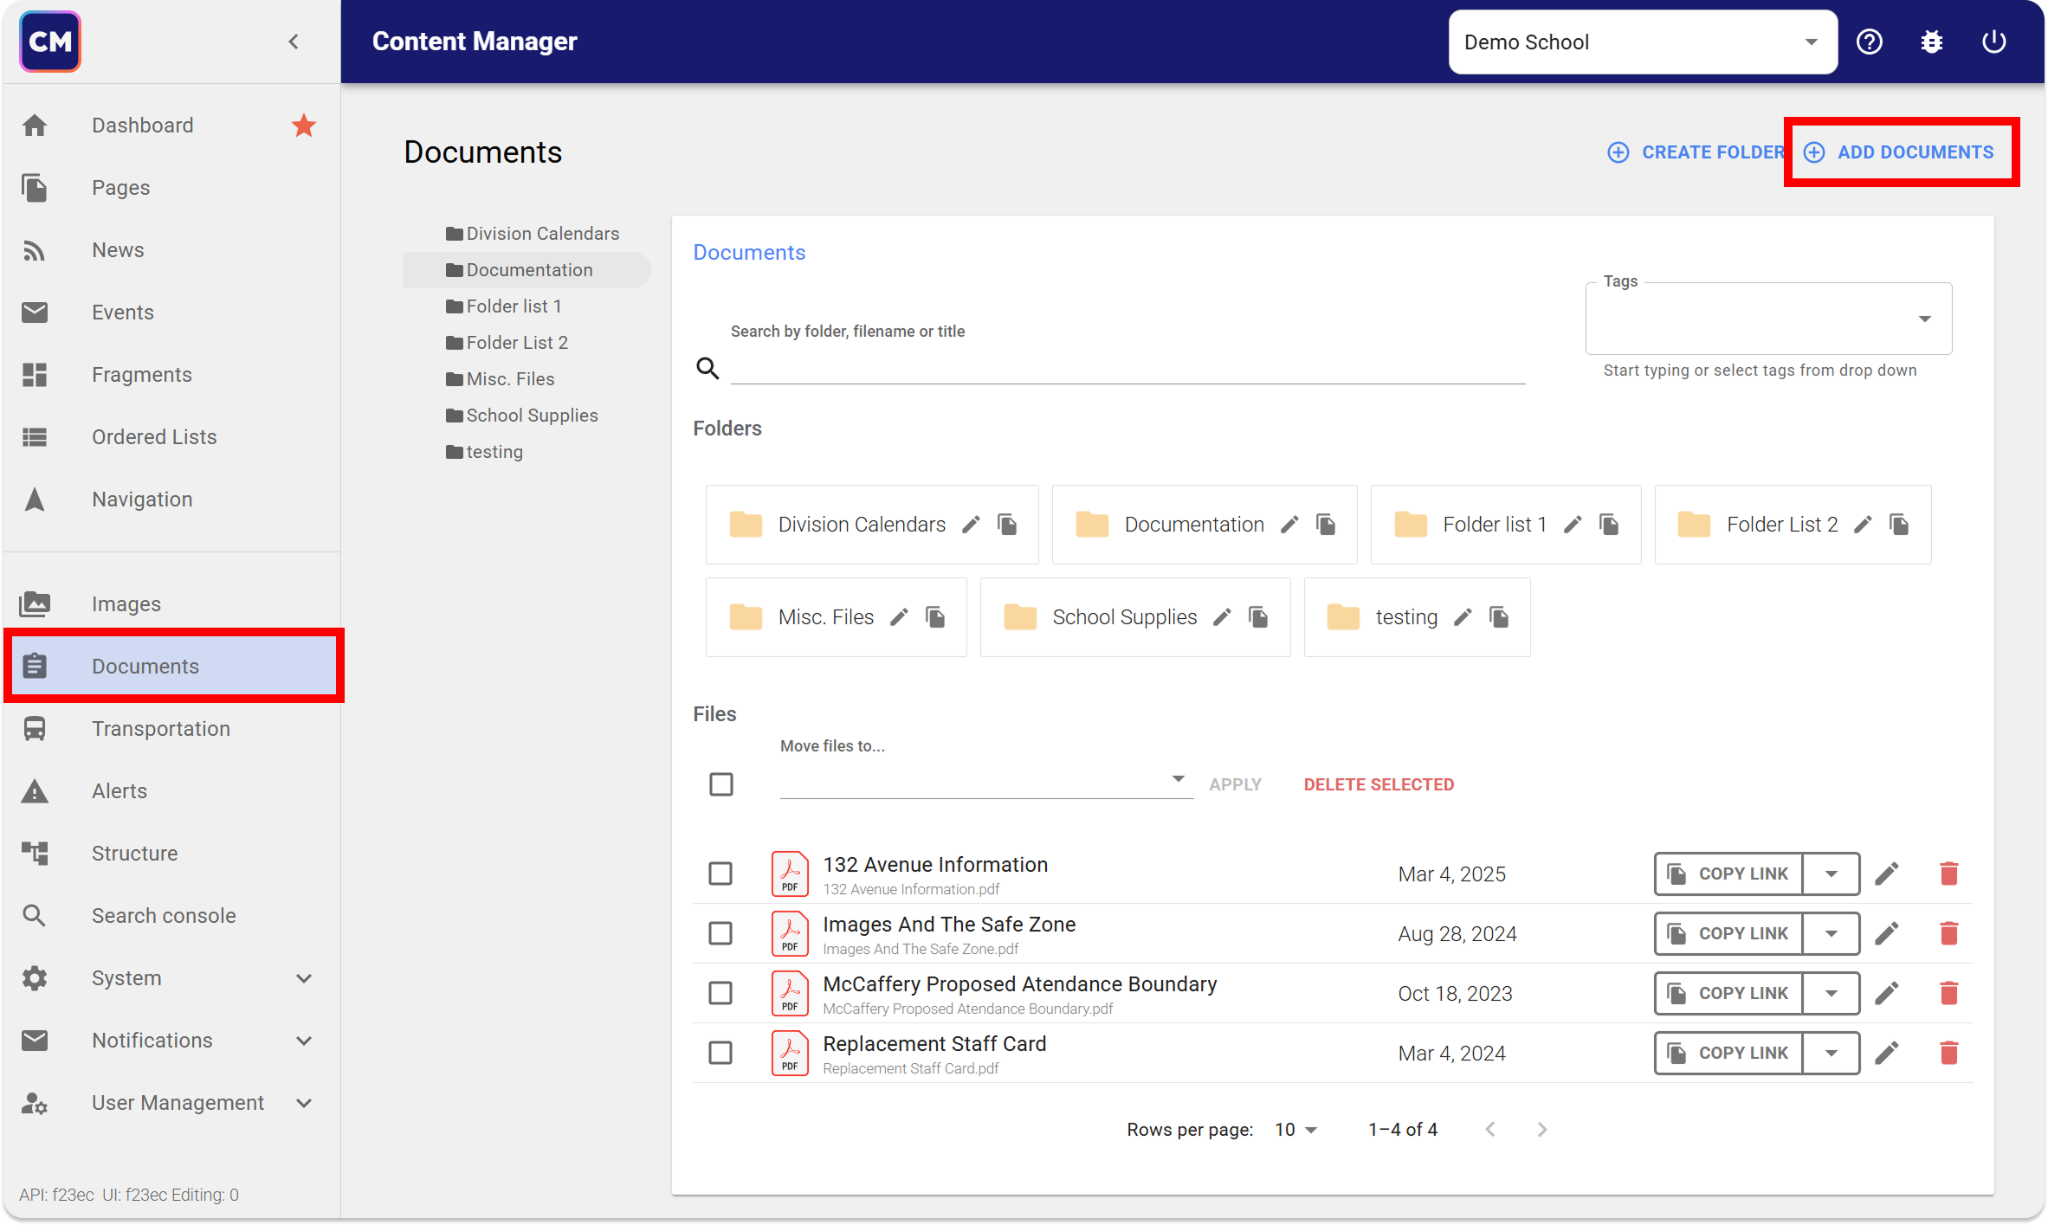
Using Folders
It may be helpful to group like documents together. Some instances when you may want to use a document folder
- You need to share multiple documents with users all together (e.g., registration forms, class packets, opt-out approvals).
- You’re managing a niche category used by multiple contributors who publish the same documents regularly.
- You reupload updated versions of the same documents periodically (e.g., annually), and want to keep historical versions organized.
By default, creating a folder will also create a new page that can be indexed and found in Search results. Please ensure you are properly naming your folders and documents as they can be seen by anyone.
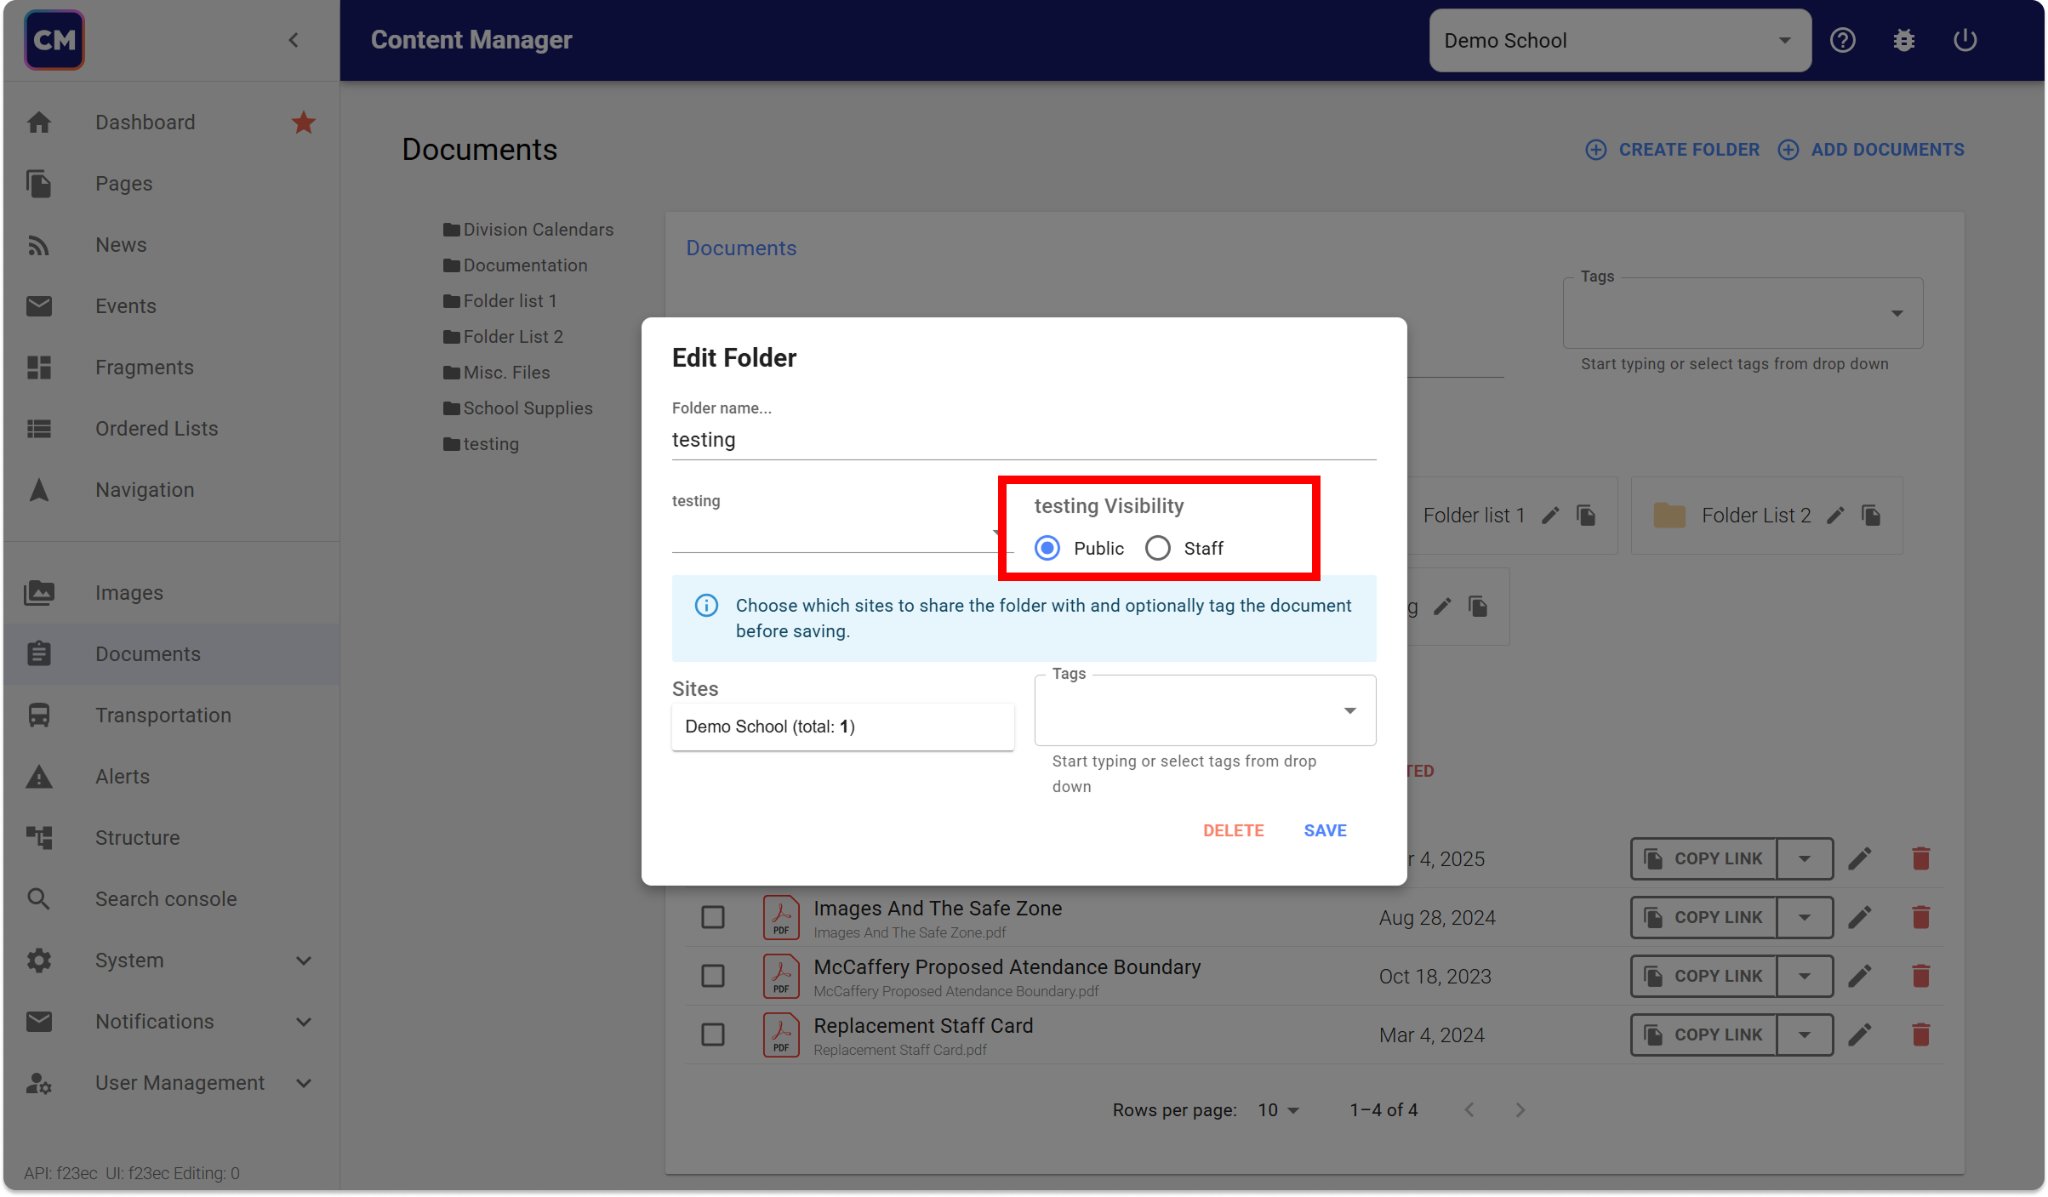
To hide the folder, and all the documents within it from being accessed by the public:
- Click on the pencil icon for the folder you would like to hide
- In the modal, change the visibility from Public > Staff.
- Click save
This will ensure that only staff members who are signed into ecsd.net may view these documents.