The following “how-to” document was created by the Communications and Web Development teams to help schools promote their open houses online. It is not limited to just open house pages as this guide can be utilized for all web pages and news posts.
Your school website is your digital lobby, please consider personalizing your open house page as needed to capture what makes your school special!
Create a New Page
Watch this video to see the process in action and see the full guide below to learn more about:
- Creating blank pages
- Content guidelines
- Publishing pages
How to Find and Edit An Existing Page
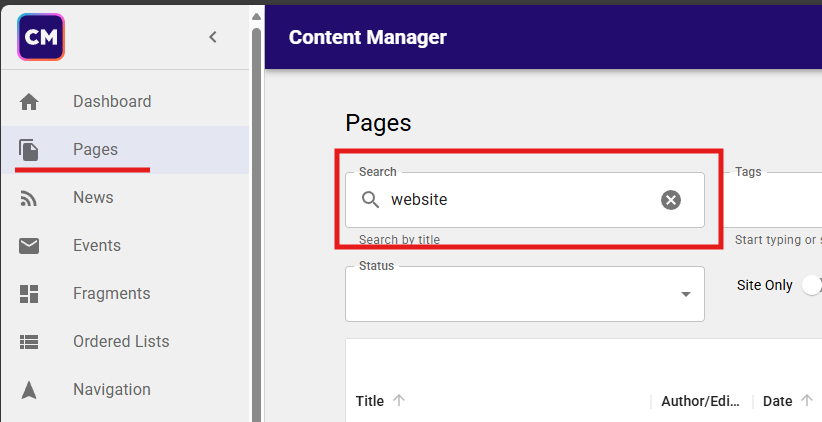
Step 1
To find the page you're looking for, click Pages in the left navigation and type the page title into the search box
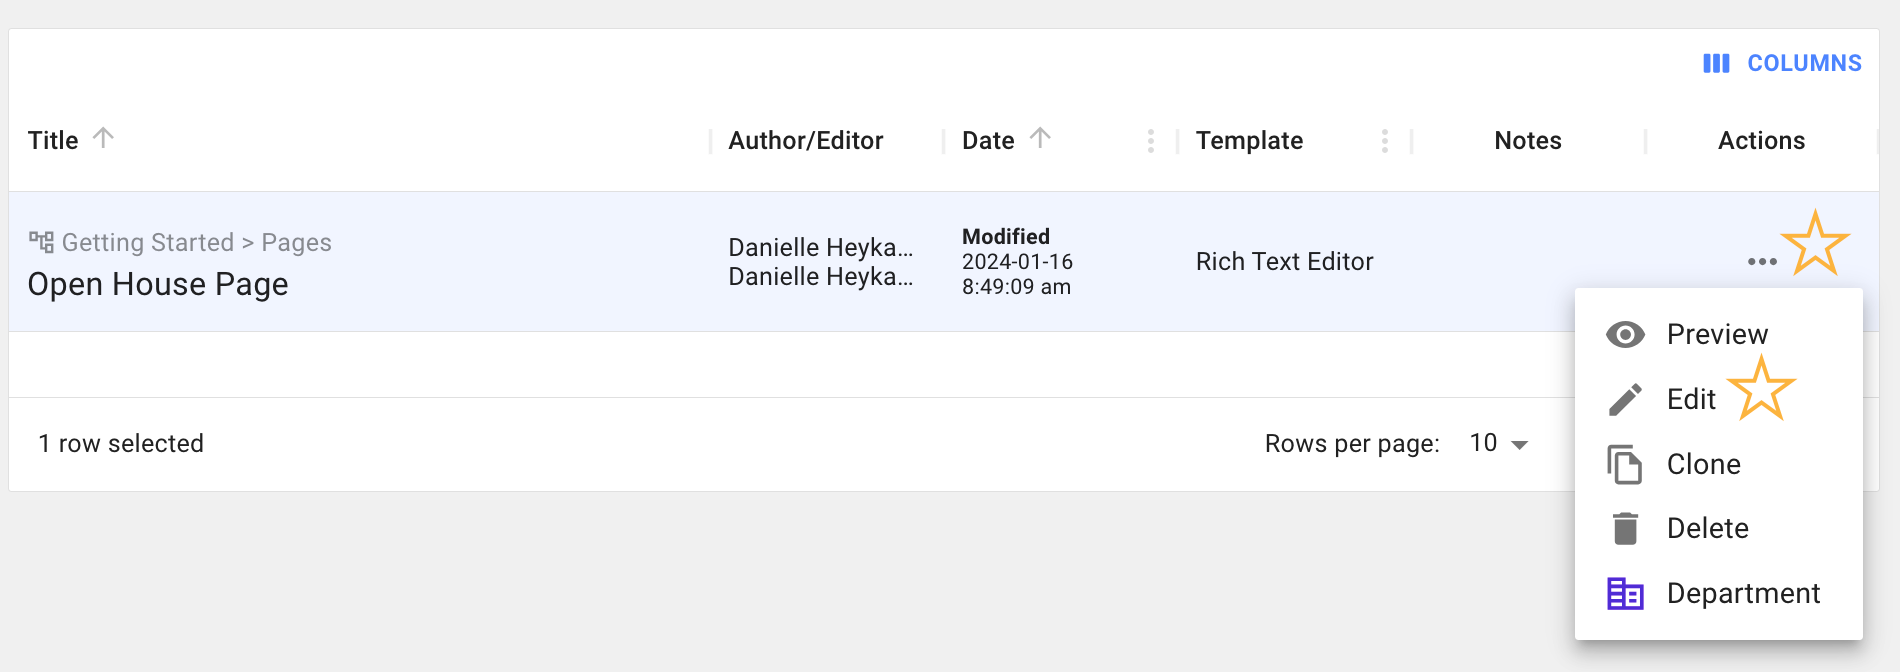
Step 2
Click on the three dots “…” under the Actions column and choose "Edit" from the available options.
Step 3
Make your changes to the content.
To learn more about formatting options and the content editor here.
Step 4
Add SEO image. This image will be associated with your page across search engines and within your site (ex. if you tagged the page as “spotlight”, this is the image that will appear on the front page). If no image is selected, the site default will appear. By adding SEO title and description you are able to control what a link to your page looks like when shared on social media or looked up in a search engine.
Step 5
Ensure the radio buttons are set to "Publish", and click "Update" in the top right.

How to Share the Page to Spotlight
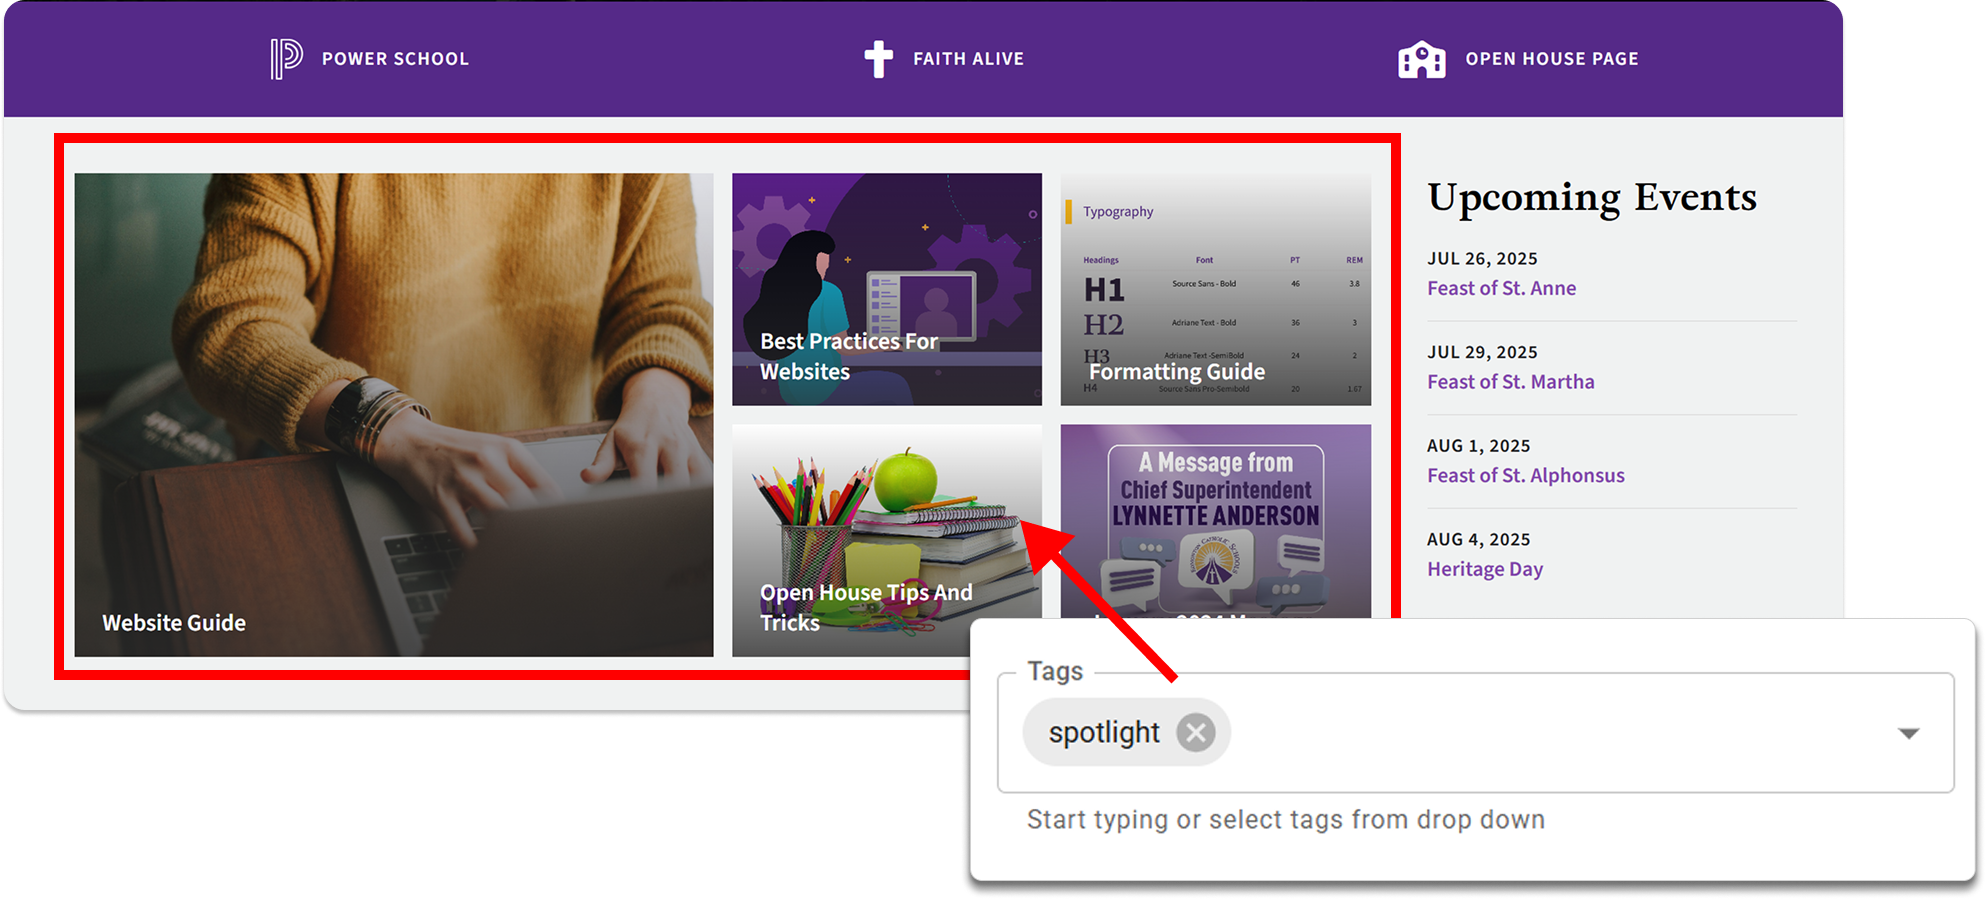
The Spotlight grid on the homepage is a great place to feature important and actionable information. It’s ideal for highlighting announcements or resources that need extra visibility.
Where is your Spotlight? The spotlight is located on your homepage, under the video, above “News” and next to your “Upcoming Events”.
Step 1
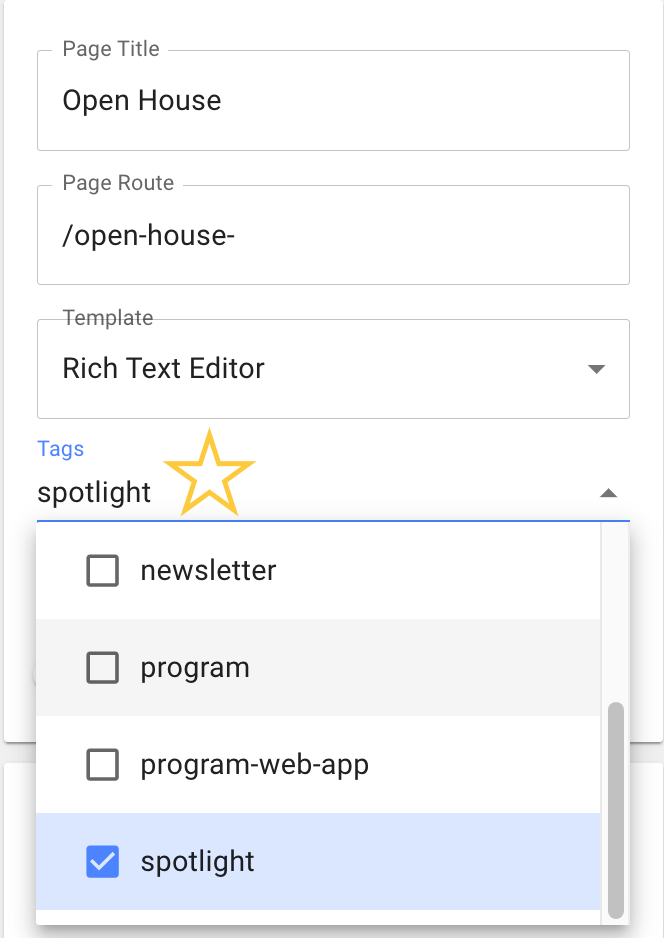
Start by editing your page in Content Manager.
In the left navigation panel, locate the tags dropdown and select "Spotlight" tag from the list.
Step 2
The SEO image will appear on the card in the spotlight. You can add this in the SEO tab, situated below the main content box.
Step 3
Publish your changes by clicking the blue "Publish" button in the top-right corner.
Note: You can come back to this page in the future to remove it from your spotlight. Just simply unselect the spotlight tag and ‘Publish’.
Create A News Post
Step 1 - Create a Blank Page
- In the top left corner, find the ☰ (hamburger menu) in the top left corner of the screen to open the Navigation panel
- Click the News tab
- Click the +add news button in the upper right-hand corner.
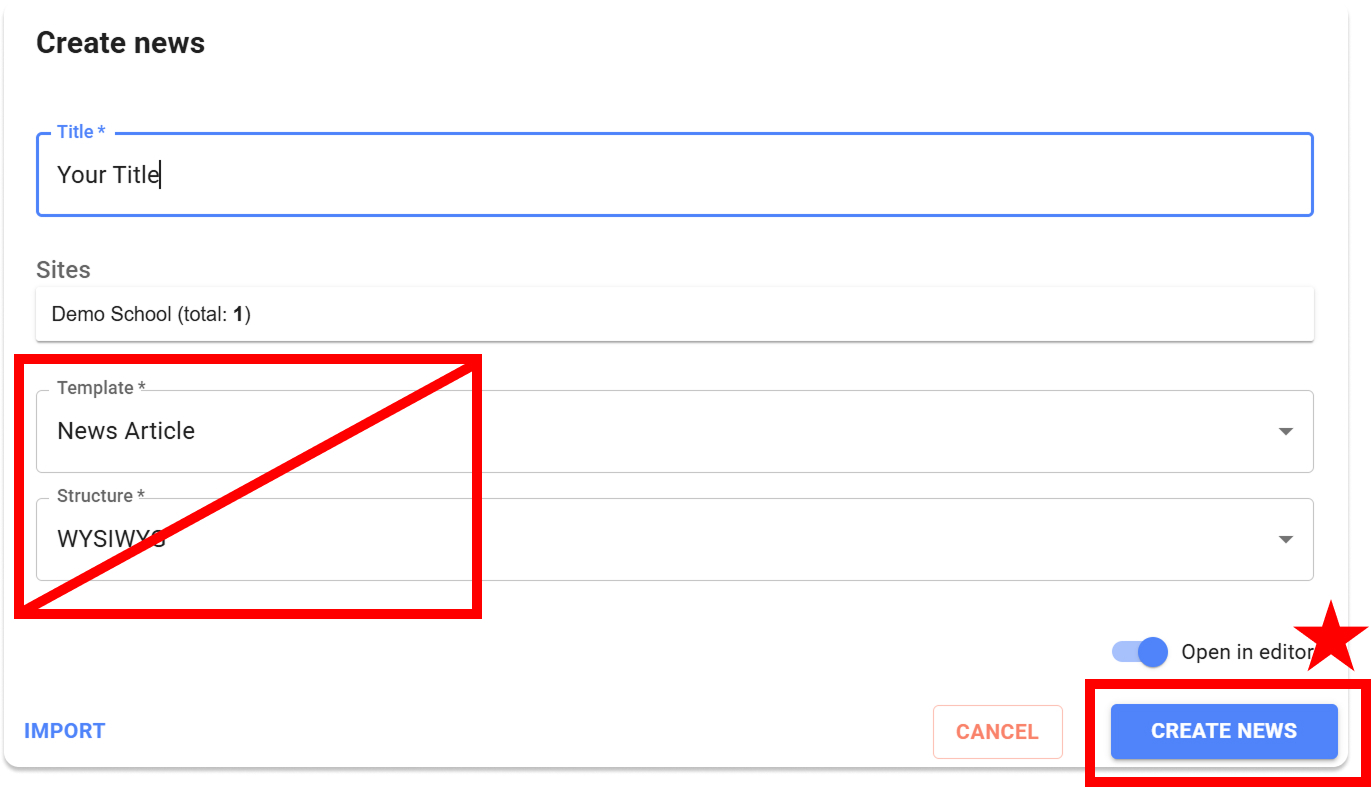
- In the modal that appears, please add a title and leave the remaining fields unchanged.
- In the modal that appears, please add a title and leave the remaining fields unchanged.
- Click "CREATE NEWS" to generate a new post!
Step 2 - Add content
- Add your content.
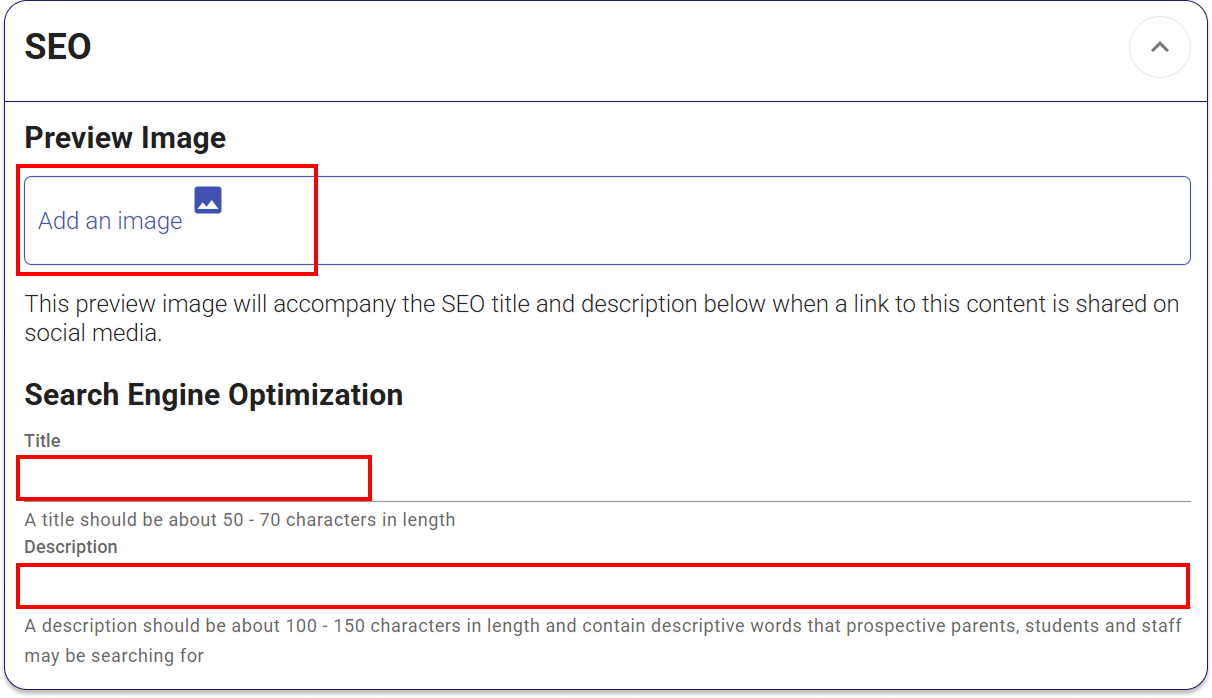
Please reference the ECSD Style guide for content, and the Formatting guide for layout. - Add SEO information. Find it below the content editor, and add an SEO title, description and Preview Image. This image is critical because it will be the image on the news cards, spotlight, and in Googles search results.
Step 3 - Optimize and Publish
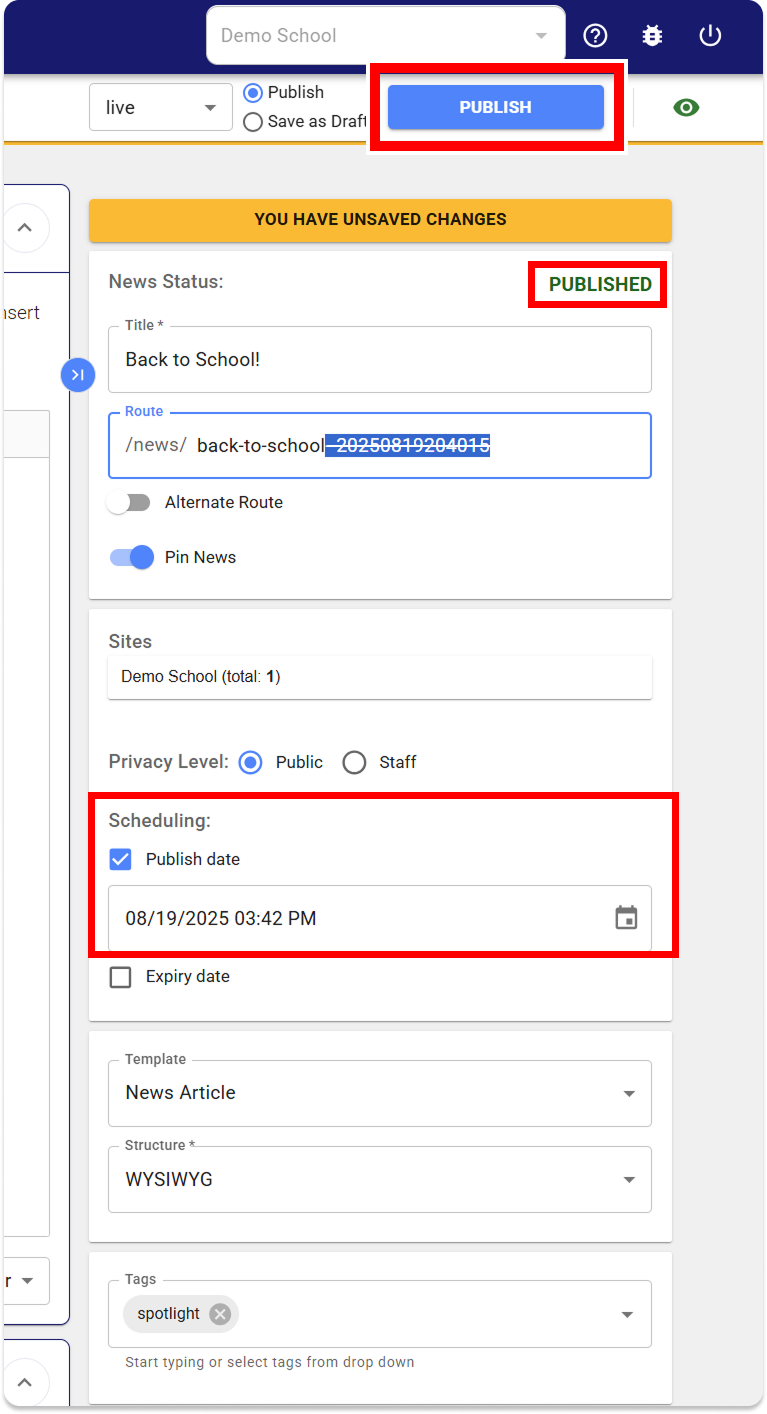
- In the left navigation panel, it's best practice to remove the number ID after the route title. The route should be /news/your-title
- Set Scheduling: Ensure the Show on checkbox has been checked.
- If the date is the current date and time or earlier, the post will be published once you click the "PUBLISH" button.
- If the date is in the future, the news post will be labeled "Scheduled" instead of "Published" and will automatically publish at that date. (Please still click the "SCHEDULE" button in the top right to save your changes)
- Optional: You can also Pin News or Add to the Spotlight now.
- Publish Your page!
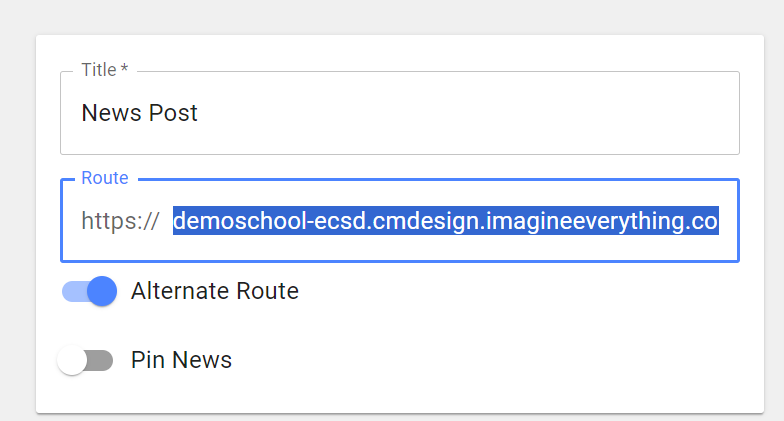
(Option 2) Alternate Route News Post
Alternative to a standard news post, you can choose to create a news post as an ‘Alternate Route’. In this space, you can add a link to any web page, and still have it appear within your News feed.
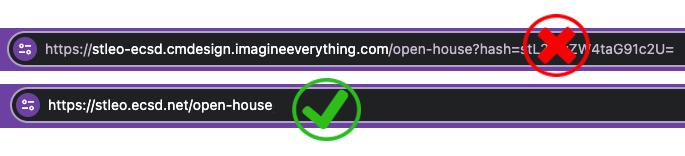
Step 1 - Add the full URL of the page you are looking to share.
Note: Please copy the link from a web browser on your school website and not through your content manager.
Step 2 - Add a Preview image
You can find this below the rich text box, in the SEO section. This image will appear in the news card and on the spotlight.
Step 3 - Click Publish
Ensure the radio button is set to "Publish", then click the blue button to commit changes.

Create A Calendar Event In The Shared Outlook Calendar
Web Calendar Delegates from your school will have access to one shared calendar. This Outlook calendar is an easy way for all members to add and edit the events for the school website. Full instructions on how to sync to a shared outlook calendar can be found on SharePoint.
Adding Your Public Website Outlook Calendar
Note: Principals must add Web Calendar Delegates before a users can gain access to edit the shared outlook calendar.
Create An Alert Banner
1. Open the Alerts Manager by accessing from the hamburger menu

2. On the right-hand side of the screen, click on ‘ADD ALERT’
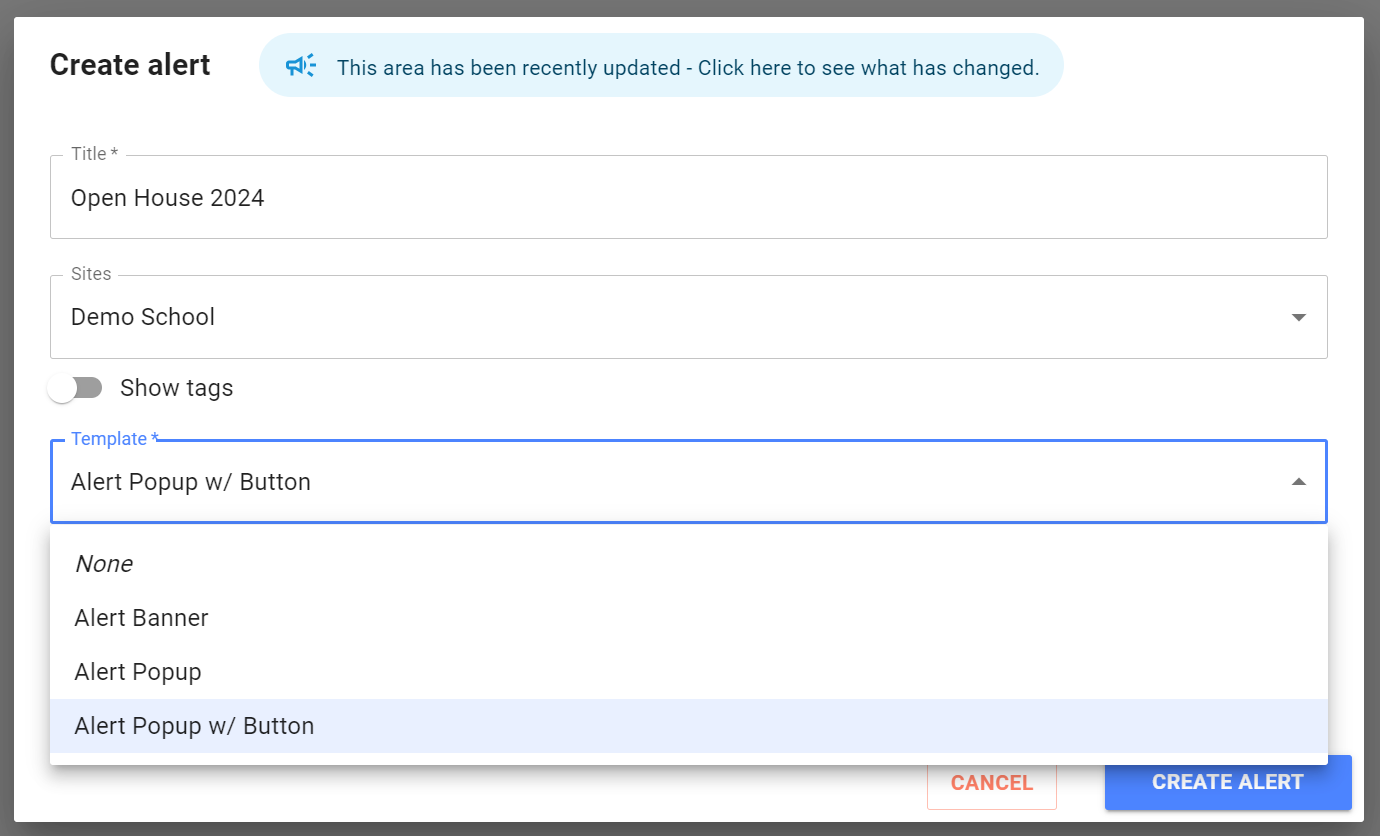
3. Choose the Alert banner from the Alert template drop-down option (alert template).
4. Add the Admin title – i.e., Open House 2024
5. Add Description: i.e., Join us for a presentation and tour on Tuesday, Feb. 27 at 6:30 PM.
6. Optional: Learn More route – In this space, you can add a link to a web page. Note: please copy the link from a web browser on your school website and not through your content manager.
7. You must set up the publish and expiry date so that your alert will automatically disappear after your open house. (As a suggestion, 10 :00 PM on the date of your open house).
8. Press Publish – your Alert should appear within a few minutes on your home page.
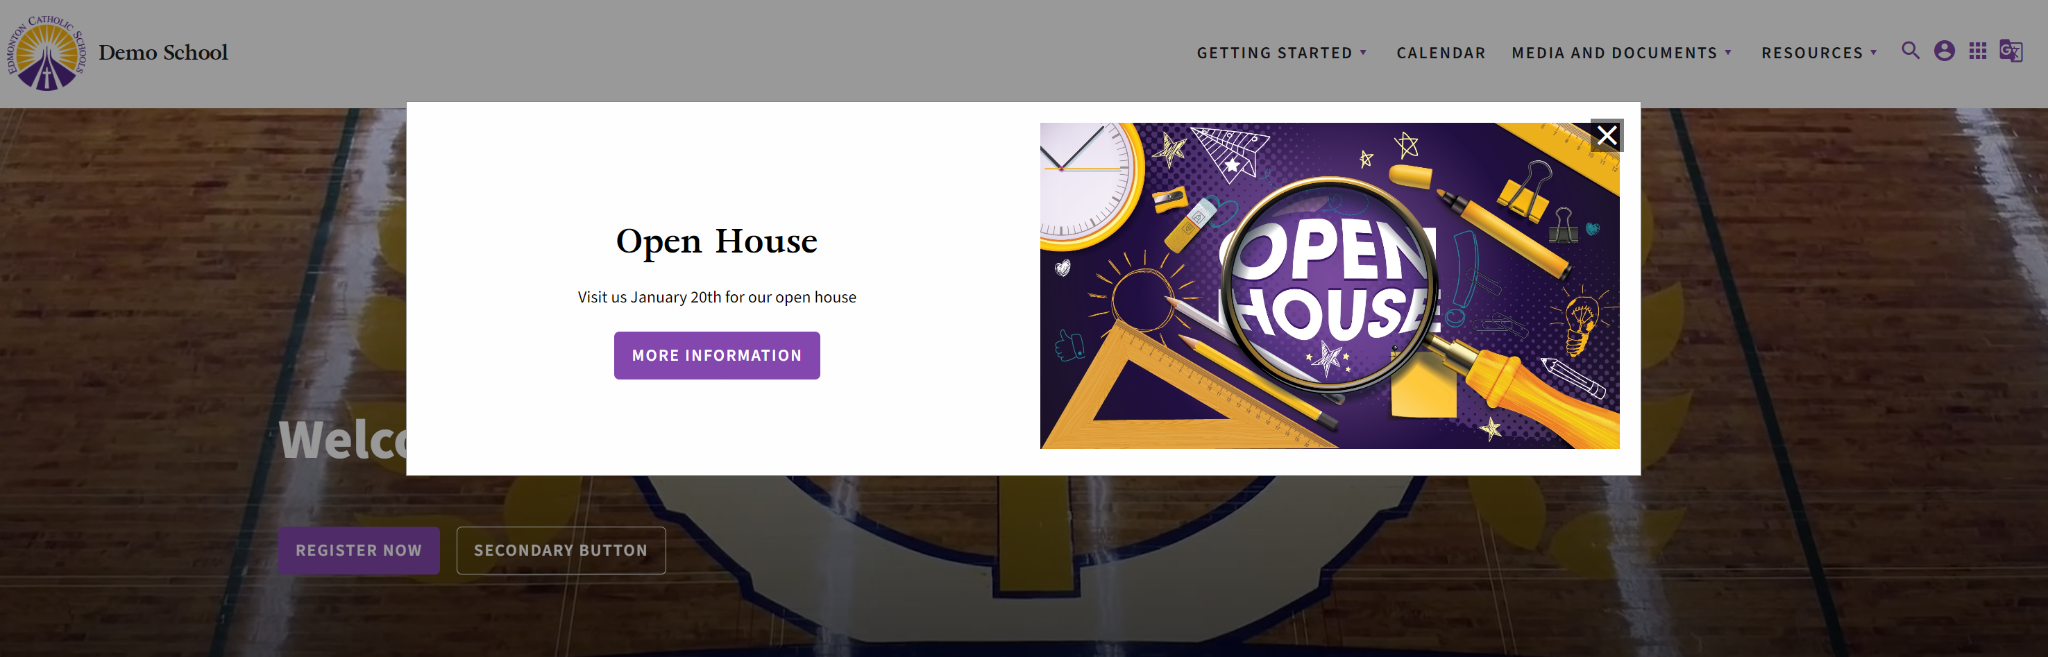
Example of Popup w/button Alert - This Alert will only be shown the website visitor one time
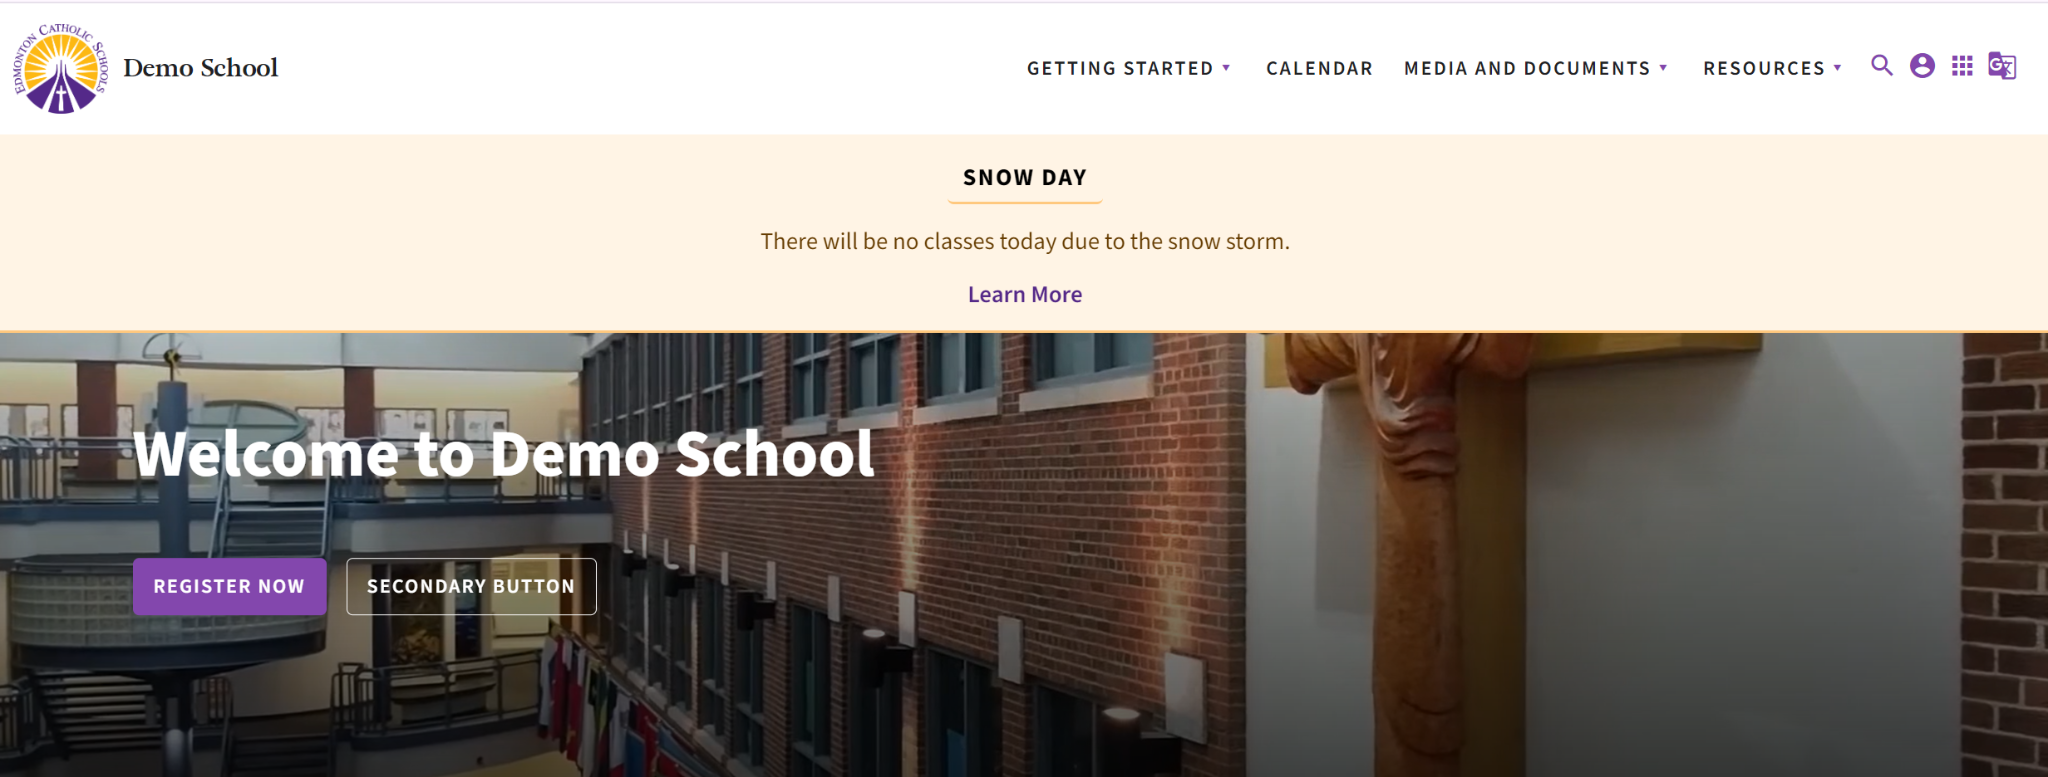
Example of Banner Alert - This Alert remains on every page until the expiry date passes
Avoid Text On Images
Please don't rely only on an placing an image or graphic with text on your page. You must include all important information in the body of text on your web page for it to be accessible.
Web Content Accessibility Guidelines (WCAG) recommend avoiding using images that include text.
Please visit Best Practice For Websites to review current web standards and guidelines.
DO!

Join Us for Our Annual Summer Picnic!
12:00pm, Tuesday June 7th
Apple Academy
DON'T!

Additional Resources
Editing Your Home Page
Open House Example Page
Open House Tips And Tricks
Formatting Guide
Best Practice For Websites
Additional Resources
Our Demo School site focuses primarily on navigating your schools website and the Content Manager system. Other resources include:
Public Website Guide SharePoint
Visit our Sharepoint site for:
- Draft content for your pages and news posts
- Guide to assigning Web Delegates and syncing your Outlook calendar
- Best practices for content writing and accessibility guidelines
- Updates regarding ongoing developments and registration for online or in person training sessions
Productivity Services SharePoint
If you are looking for support for other division tools including:
- Microsoft 365
- Google Workspace
- Knowledgelake
Please visit the Productivity services knowledgebase in Sharepoint.
For specific inquiries, please visit the Service Portal to submit a ticket and get support from the right team. This ensures your request is tracked, prioritized, and resolved efficiently.