Introducing a new editor for your webpages and news posts! Lexical is a widely used What You See Is What You Get (WYSIWYG) content editor with additional features to help you organize content on your site. With this new editor, you will be able to add:
- Column layouts,
- Image galleries or multi-page sections,
- Movable content blocks,
- Anchor links for quick navigation,
- ...and much more!
Start using Lexical when creating new pages or editing existing ones.
Switching to Lexical
Create a new page
- Go to the Pages tab in the left menu.
- Click "+ add page"
To switch the editor
- Scroll to the bottom of the main content section.
- Find the dropdown labeled CK Editor.
- Select Lexical from the list.
- Confirm the change in the popup.
Tip: If you’re switching an existing page from CK Editor to Lexical, click the eye icon (top right) to preview and make sure everything looks correct.

! - Click to see expanded video
Lexical Basics
Titles and formatted text
Any text may be formatted with:

Standard Text Formatting
Bold , Italic , Underline , Strikethrough
Text Align - Left, right, and center
Headings (Titles)
(Note: Use H2 for main titles, and smaller headings for subsections.)
This is a Title (H2)
This is a subtitle (H3)
Bulleted/numbered lists
- Lorum Ipsum
- Lorum Ipsum
- Lorum Ipsum
Quotations
Lorem ipsum dolor sit amet, consectetur adipiscing elit, sed do eiusmod tempor
incididunt ut labore et dolore magna aliqua.
Find these options by selecting your text and choosing:

Tables
Please use tables whenever possible, to outline complex information such as timetables, class schedules and club information.
How to add a new table
- Click insert, select table
- Decide the number or rows and columns (this can be changed later)
- Clicking the " ⌄ " icon will open the table menu
- Headers will change all cells in the selected row or column to become a bolded title
- Combine cells by selecting two from right to left and choosing "merge cells" in the menu
What it looks like in the editor:
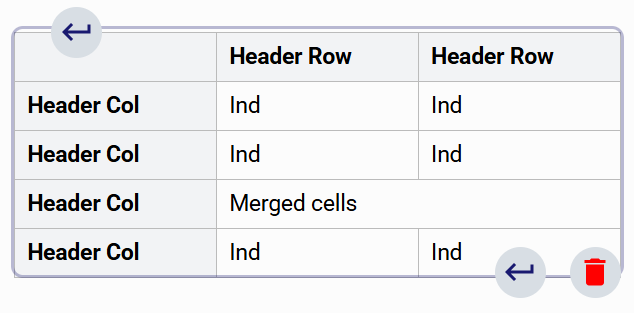
What the end user can see:
Header Row | Header Row | |
|---|---|---|
Header Col | Ind | Ind |
Header Col | Ind | Ind |
Header Col | Merged cells | |
Header Col | Ind | Ind |
Document links
Why upload to the document library?
It is very important that any document be uploaded to the website’s document library because this ensures the file is stored securely, easily accessible for future updates, and properly linked for users across the site.
To add a document link:
- Click Insert > Document Link.
- Choose:
- Existing document: Search in the document library and click Select Document.
- New document: Upload from your computer, add a title and alt text, then select it.
In the editor, a document link will look like this:
Images
How to add an image
- Both can be found under the "Insert" dropdown button
- Clicking on "Image" will open the image library. The images that are already living on your school's website will appear here. If you would like to add a new photo, click the grey box on the right side to upload a photo from file explorer.
- Add the filename and Alt text. Ensure Alt text is short but descriptive. *This information helps users with visual impairments to understand the image
- Once uploaded, the image will appear in the gallery on the left. Select it to add it to the page.
- Back in the editor, you can:
- Scale the image by the blue boxes in the corners.
- Add a caption
- Left and right align the images
Videos
Adding Videos with Vimeo
Videos can be added to your page using a Vimeo URL, similar to CK Editor.
Important: The division requires all school video content to be hosted on Vimeo. This ensures:
- Ad-free viewing
- Advanced privacy controls
- High-quality video embedding
You must be a Vimeo delegate to upload videos.
If you cannot log in toVimeo with your ECSD Microsoft account, ask your principal to add you to the delegates list by following this guide.
How to add a video
- Log in to Vimeo with your ECSD account.
- Click New > Upload, add your video and metadata.
- Once the upload is complete, copy the URL from the Share button.
- In the page editor, go to Insert > Video and paste the URL.
* You can use videos within layout blocks to adjust size and alignment.
Collapsible Boxes
Collapsible boxes now have an updated look. You can expand and collapse them in the editor as well as on the live website.
How to Add a Collapsible Box
- Click Insert > Collapsible Box.
- In the box:
- The head (top section) stays visible and contains the title.
- Click the triangle arrow to open or close the body section.
- Click inside the body (bottom section) to add content.
- You may add more elements such as layouts, images, or document links to the body of a collapsible box.
Important notes
- Boxes are collapsed by default and must be clicked to open.
- Do not place critical informationinside collapsible boxes
- Best uses:
- Grouped related links
- To hide detailed processes for easier reading
- Adding extra, non-essential content for readers who may want to learn more
Multi-column layouts
You can easily organize content into multiple columns using preset layout options.
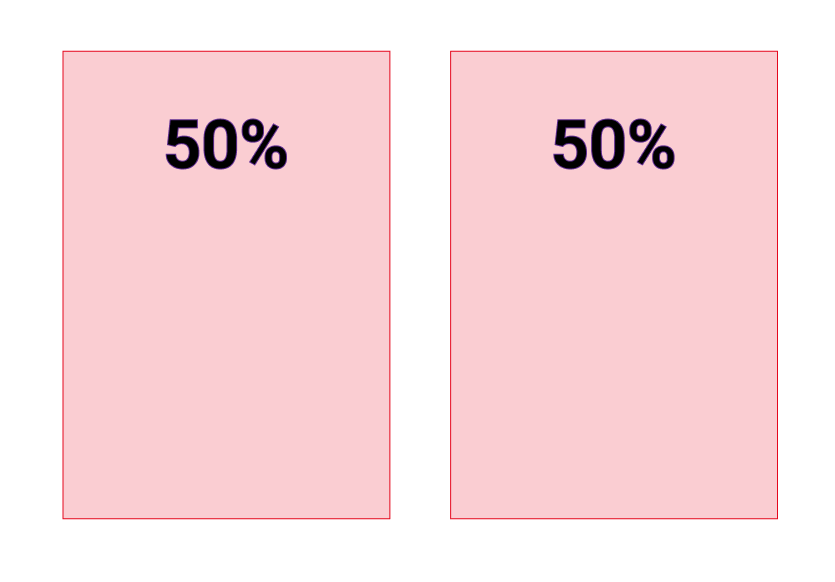
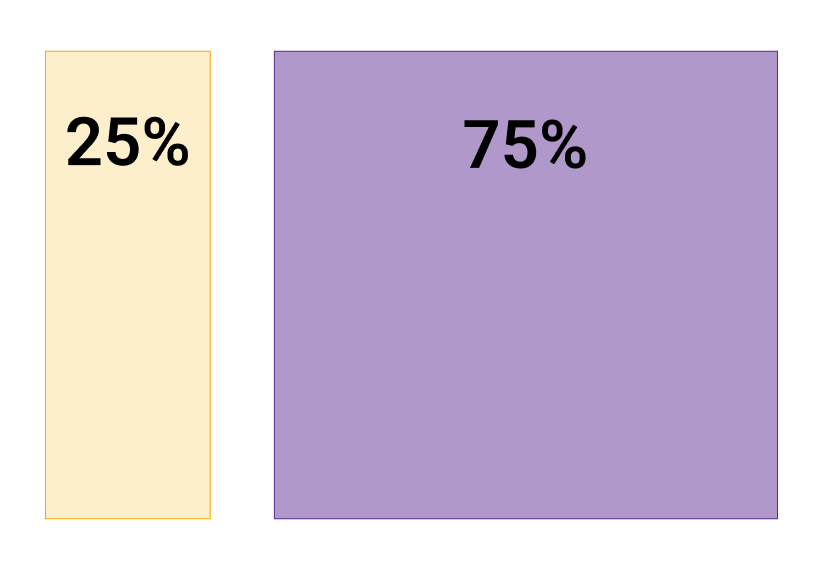
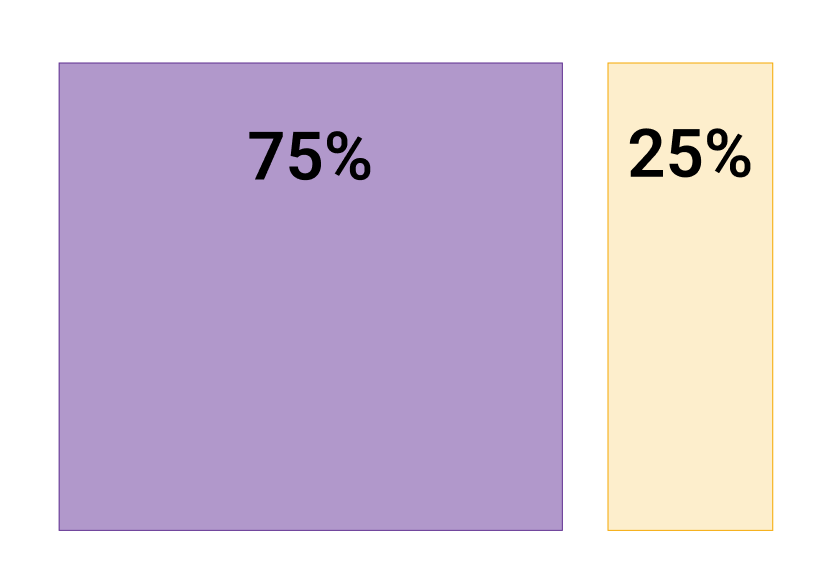
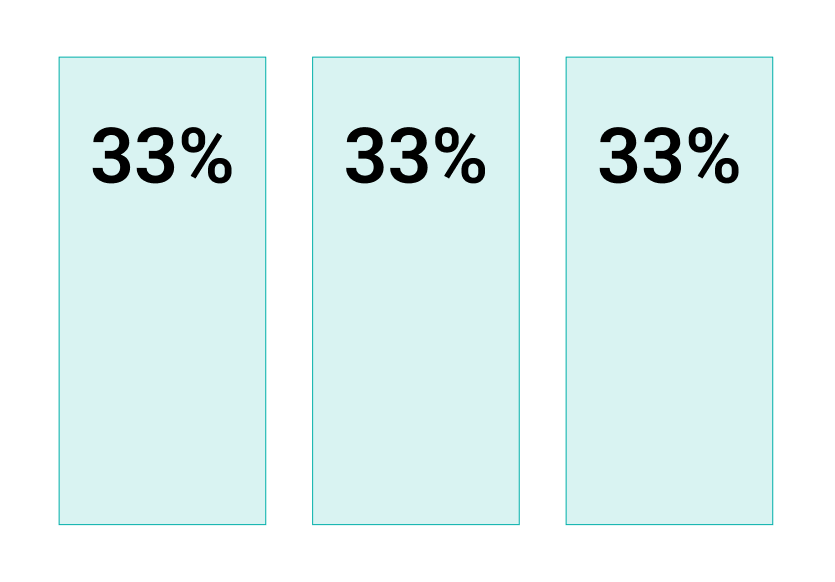
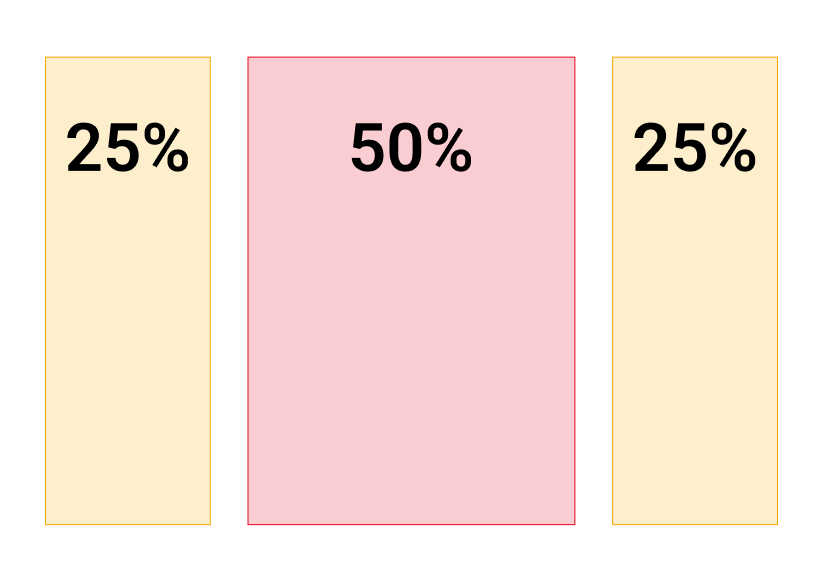
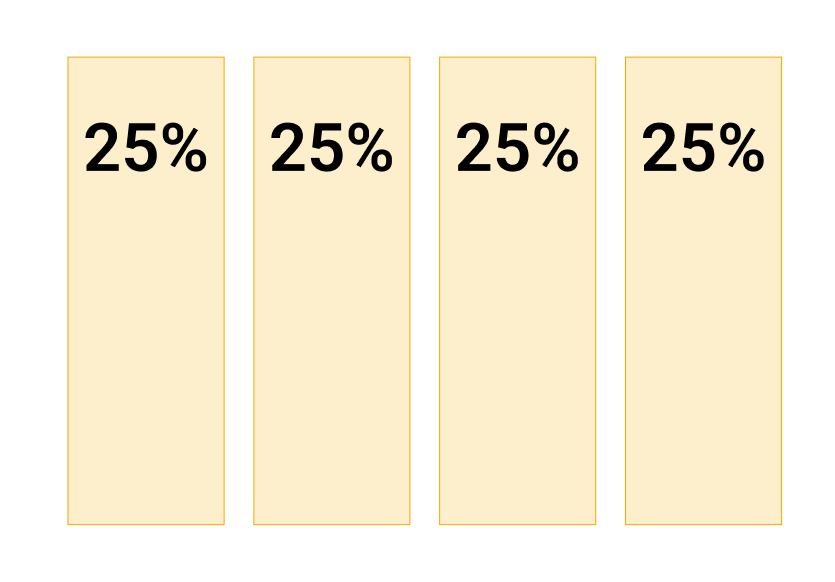
How to add a layout section
- Click Insert > Layouts.
- In the modal, select a layout and click Insert.
- Add content and elements to each column independently.
Important note
- On smaller screens and mobile devices, columns stack vertically (left column appears first, then right).
- Organize content so it reads logically when stacked—left column before right column.